
The holiday season often brings with it the joy of decorating, yet the task of installing Christmas lights can feel daunting.
A well-executed installation not only enhances your home's exterior but also creates a warm atmosphere that invites joy and celebration. By thoughtfully selecting lights, planning your design, and employing efficient techniques, you can achieve a stunning display with minimal effort.
However, understanding the nuances of the installation process is key to ensuring a successful outcome. What strategies can truly make this experience seamless and enjoyable?
When it comes to selecting the perfect Christmas lights, many homeowners find themselves overwhelmed by the myriad of options available. To simplify the decision-making process, it is essential to consider several key factors.
First, determine the type of lights-incandescent or LED-based on energy efficiency and brightness. LED lights are increasingly popular due to their longevity and lower energy consumption. Next, assess the color scheme; traditional warm white lights evoke a classic feel, while multicolored options can create a vibrant atmosphere.
Additionally, consider light size and shape, as larger bulbs offer a bold aesthetic, whereas smaller ones provide a subtle glow. Lastly, evaluate the length and wattage to ensure compatibility with your space and electrical systems, ensuring a safe and festive installation.
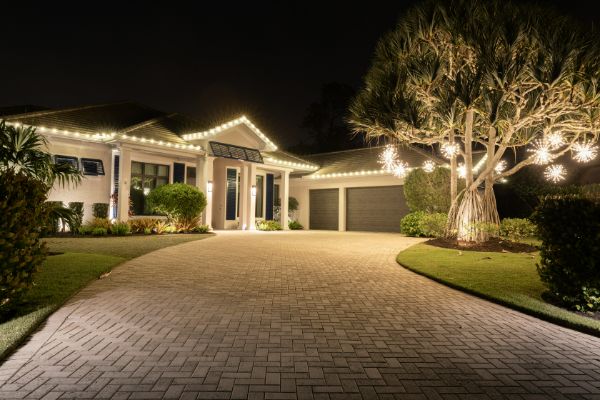
After selecting the right lights, the next step involves carefully planning your design to maximize the visual impact of your Christmas display. Begin by assessing the architectural features of your home and landscape.
Consider focal points such as windows, doors, and trees, ensuring that your lighting highlights these areas effectively. Sketch a layout to visualize your design, incorporating various lighting techniques like outlining, draping, and accentuating. Choose a color scheme that complements your home while evoking the festive spirit.
Additionally, think about layering lights to create depth and interest. Finally, factor in the spacing of lights to ensure uniformity and balance, ultimately crafting a cohesive and enchanting holiday atmosphere that invites joy and celebration.
Prioritizing safety is essential for a successful Christmas light installation, ensuring both the integrity of your display and the well-being of everyone involved. Begin by inspecting your lights for any damage, such as frayed wires or broken bulbs, to prevent electrical hazards.
Use UL-listed lights to guarantee they meet safety standards. When installing, avoid overloading circuits and ensure connections are weatherproof to minimize the risk of electrical fires. Utilize sturdy ladders and wear appropriate footwear to prevent falls, especially when working at heights.
If using extension cords, choose those rated for outdoor use and keep them away from moisture. Finally, consider enlisting help, as a second pair of hands can ensure a safer, more efficient installation process.
A well-equipped toolkit can significantly simplify the Christmas light installation process. Essential tools include a sturdy ladder, which provides safe access to elevated areas, and extension cords that extend reach to power sources.
Consider using clips or adhesive hooks specifically designed for securing lights to various surfaces without causing damage. A voltage tester is also invaluable, ensuring that electrical connections are safe and functional before installation begins.
Additionally, a staple gun can help attach lights to wooden surfaces, while zip ties offer a secure and tidy method for bundling cords together. Finally, a timer can automate light operation, enhancing convenience and energy efficiency. With these tools, the installation process becomes not only easier but also safer and more efficient.
Installing Christmas lights can be a festive undertaking when approached methodically. Begin by planning your design; sketch the layout to visualize the final appearance. Measure the areas where lights will be placed, ensuring you have adequate lengths of lights and extension cords.
Next, gather your tools and materials, including clips and fasteners for secure installation. Start at a power source, plugging in your lights to test functionality before installation. If using outdoor lights, ensure they are rated for external use.
Begin installing lights from the power source, securing them in place with clips. Work systematically, distributing lights evenly along your designated areas. Finally, step back to assess your work, making adjustments as needed for a polished, festive display.
Exploring creative lighting techniques can elevate your Christmas display from ordinary to extraordinary. One innovative approach is to use smart LED lights, allowing you to customize colors and patterns through an app.
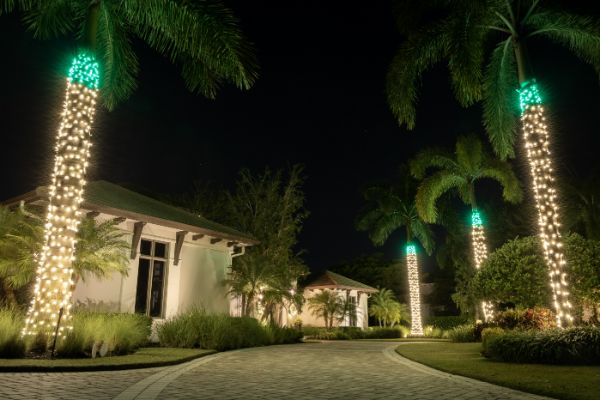
Incorporating projection lights can also add depth and intrigue by casting festive images onto your home's exterior or surrounding landscape. Consider layering different lighting styles, such as combining string lights with spotlights to highlight specific features like trees or pathways.
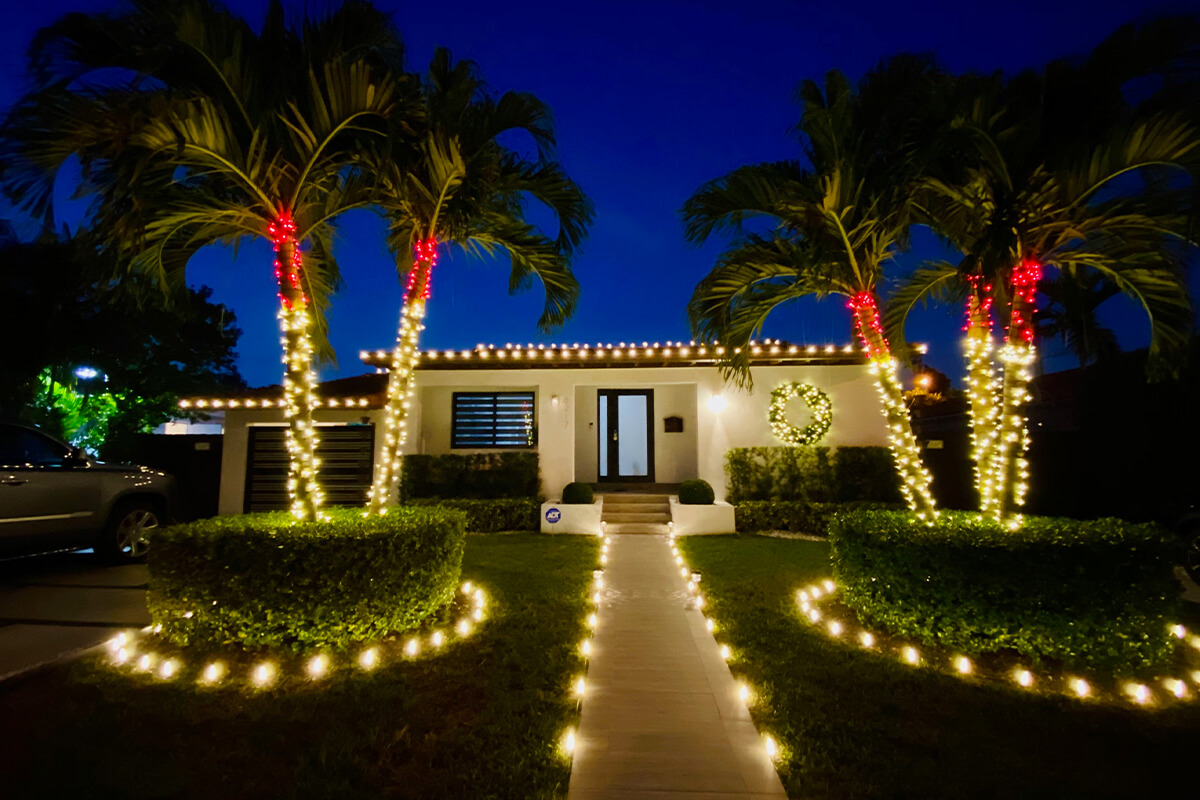
Using natural elements, like wrapping lights around branches or shrubs, can create a magical ambiance. Additionally, creating a focal point with a beautifully lit centerpiece, such as a wreath or an archway, can draw attention and enhance the overall aesthetic of your holiday display, making it memorable for all who visit.
To fix broken Christmas lights, start by inspecting the entire string for damaged bulbs or frayed wires. Replace any burnt-out bulbs with new ones of the same voltage. If the string remains non-functional, check the fuse located in the plug; replacing a blown fuse can often resolve the issue. Additionally, ensure all connections are secure and free from corrosion. If problems persist, consider testing individual sections with a multimeter for deeper electrical issues.
When selecting outdoor lights, durability and weather resistance are paramount. LED lights are highly recommended due to their energy efficiency, longevity, and ability to withstand various weather conditions. Additionally, look for lights rated for outdoor use, often specified as waterproof or weatherproof. Options such as icicle lights, string lights, and flood lights can enhance your outdoor aesthetic. Always consider brightness levels and color temperature to achieve the desired ambiance for your outdoor space.
To remove lights without damaging your home, begin by unplugging them and allowing the bulbs to cool. Carefully detach any clips or fasteners used for installation, ensuring you do not pull on the wiring. If adhesive strips were used, gently peel them away, applying heat from a hairdryer if necessary to soften the adhesive. Store the lights properly to prevent tangling and ensure their longevity for future use while avoiding damage to surfaces.